1. Power up the charger.
2. In order to connect to the WiFi hotspot of Enelion Bridge, use a computer or telephone to scan the available WiFi networks. The broadcast network is named “EnelionChargerXXX” where XXX stands for the last three characters of the serial number of the communication module. By default, the broadcast network is not password protected. Selecting this network will connect to the device.
3. Open a web browser on your device. Enter the address http://192.168.8.8 in the address bar and log in.
4. To change the OCPP setting you have to log in as an administrator. Username is “admin” and default password is “admin”.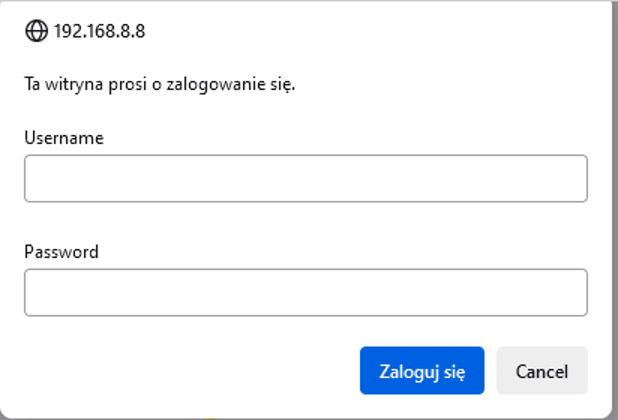
5. Make sure that the Enelion Bridge has Internet connection. Check that in Network > Overview.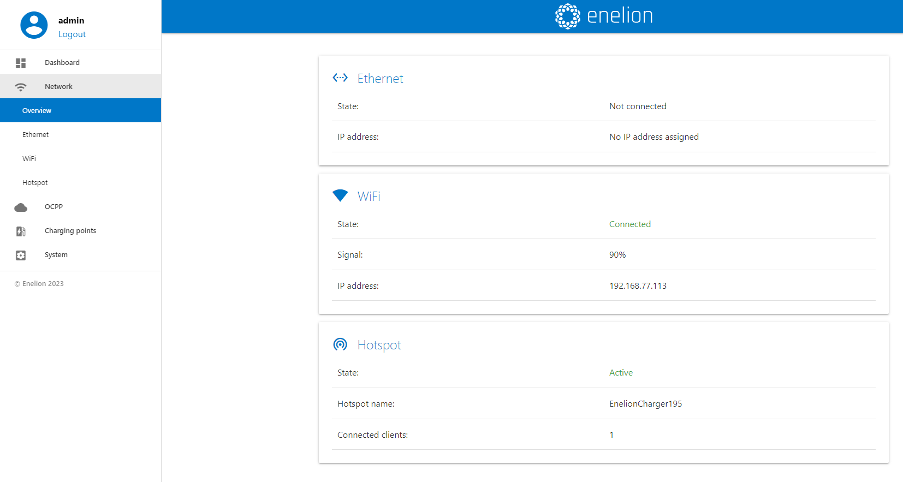
6. Navigate to OCPP > Connection > Connect to specified Management System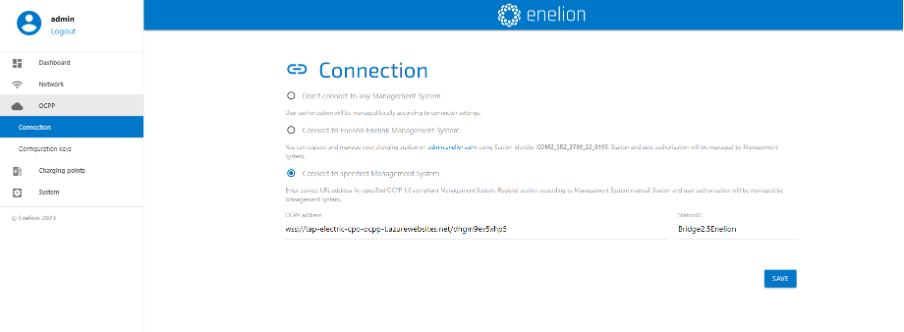


11. Back to Enelion Bridge. In the StationID field, enter any name you wish for the charger.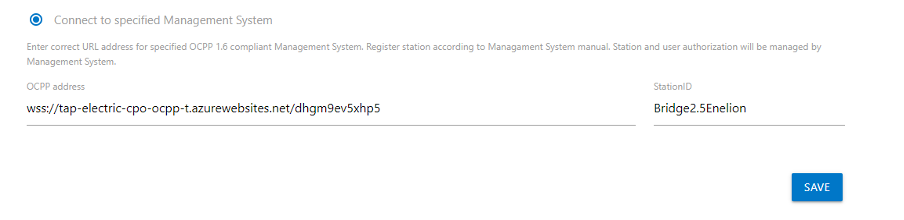
12. Click save to connect to the Splash.
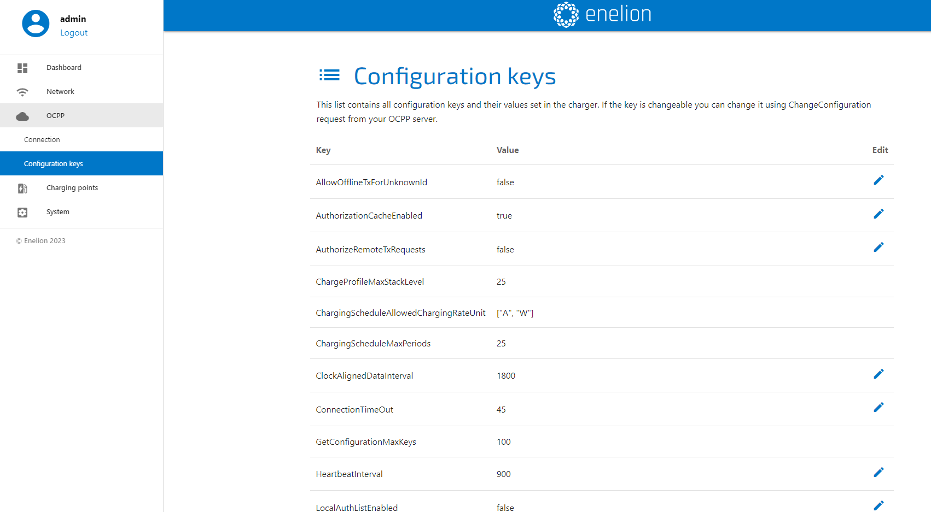
13. In the Configuration keys section you can edit the values of the keys defined in
the OCPP 1.6 specification. Editing them here is equivalent to sending a ChangeConfiguration message via OCPP.