Zaptec Onboarding Guide

Zaptec Onboarding Guide

1. Go to the Zaptec Portal, https://portal.zaptec.com/

2. Login with your Zaptec credentials. These are the same as for your Zaptec app.
zaptecPortal.png

3. Go to the Installations tab.

4. Select the Installation you wish to onboard.

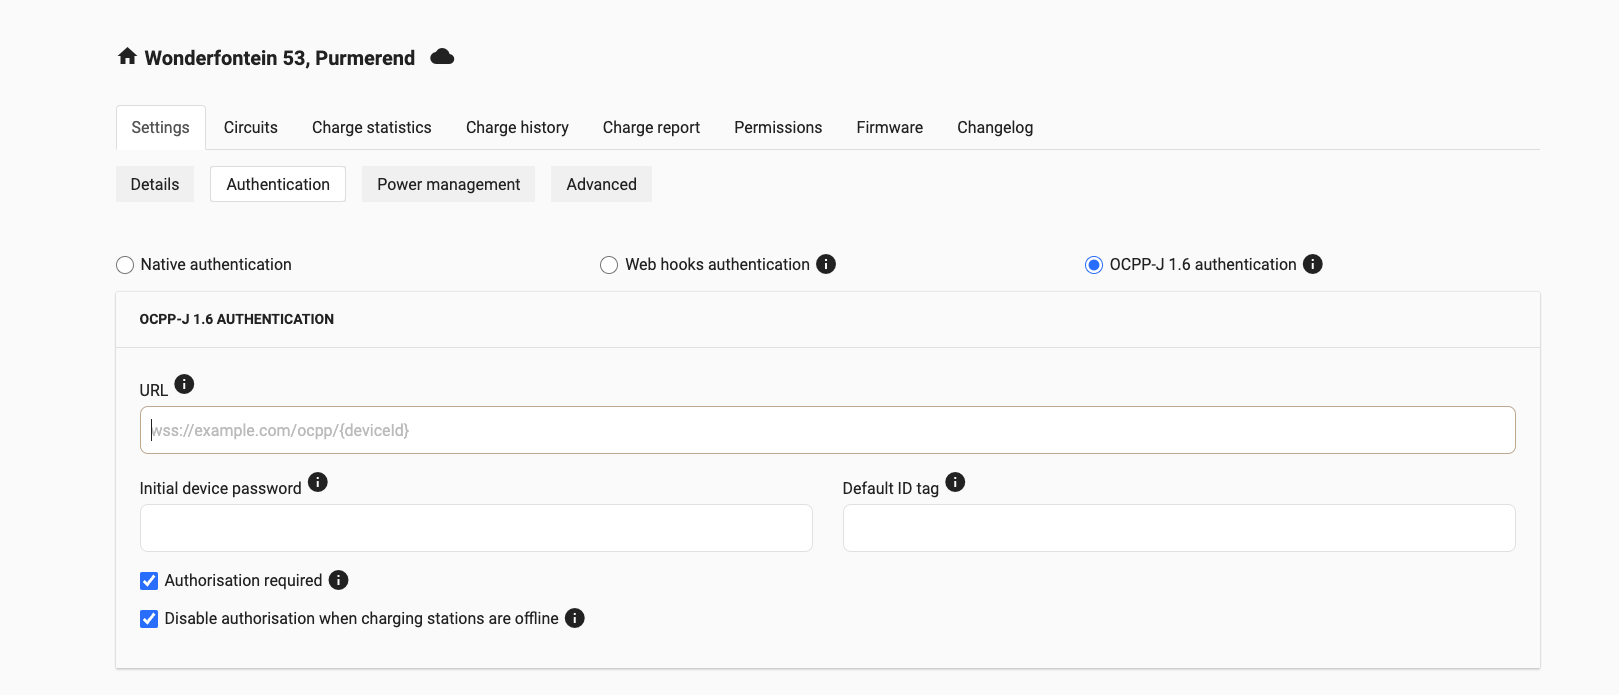
5. In the Settings tab, go to Authentication

6. Select OCPP-J 1.6 authentication 

7. Copy the Splash URL provided. wss://cpms.splashrenewable.co.uk/ 

8. Paste the URL copied from Splash.

9. It is not required to enter an Initial Device Password.

10. Check the box for “Authorization Required.”

11. Decide whether you want to check the box for “Disable authorization when charging stations are offline”. This will allow users to start sessions when the charger has no internet connection, but beware that you cannot be reimbursed for these sessions.
zaptecURL.png

12. Reboot the charger.

13. Open Splash app. In the Splash app: My charger > Add new charger.

14. Please don’t use the QR scanner and enter your Zaptec serial number to proceed.

15. Follow the instructions to finish setting up your charger. After a minute the charger should appear on the map and you can start sharing on Splash!

Log in to your account