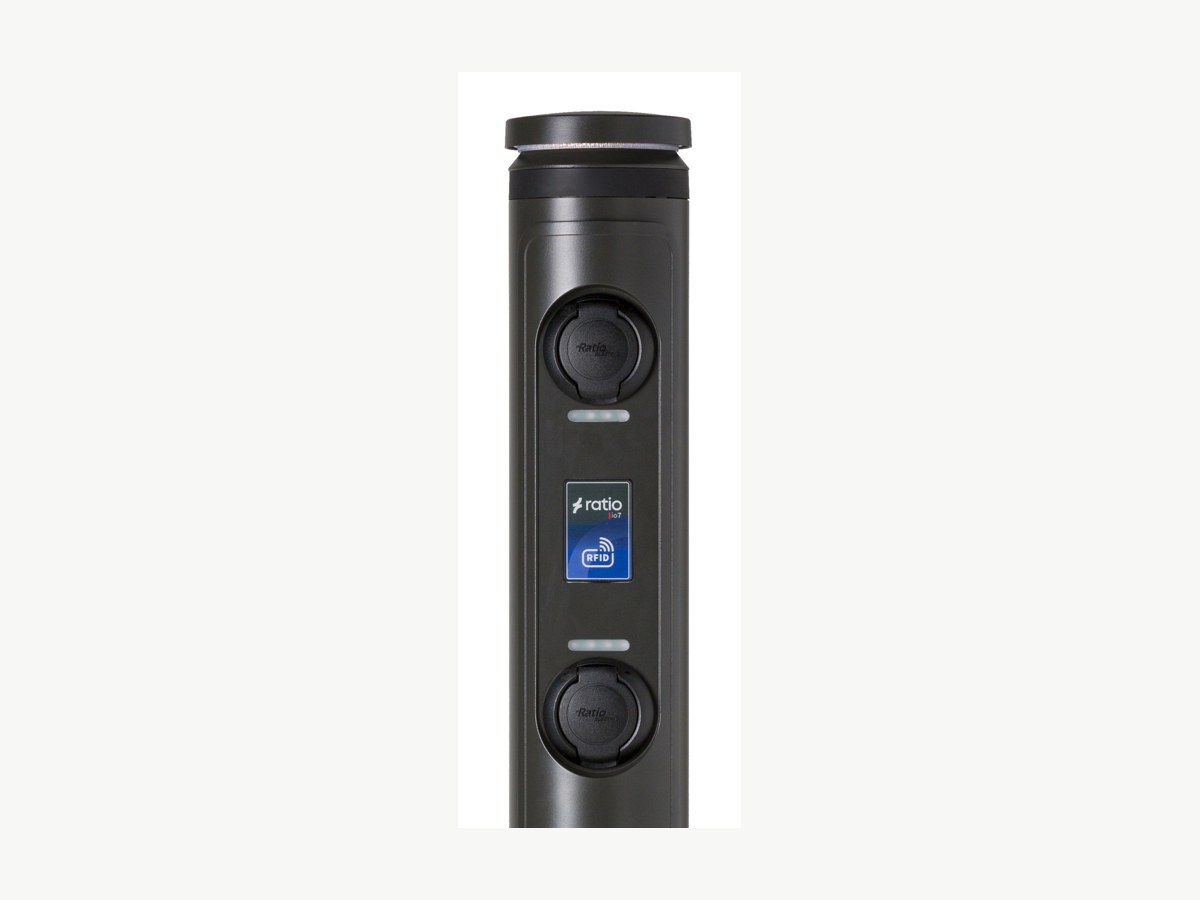
Ratio io7
Jun 15, 2026
Power up the charger.
Ensure the charger is powered up. The LEDs will illuminate white during boot. Once ready, LEDs turn green and the charger's WiFi Hotspot is enabled for 10 minutes.
Connect to the charger's hotspot.
On your phone or laptop, open WiFi settings and connect to the charger's hotspot. Network name: ratio_io7 — Password: Ratioio7
Open a web browser.
Open a web browser and enter 10.7.10.7 in the URL bar. If a security warning appears, click "Advanced" then "Continue".
Log in to the Ratio portal.
Enter the login credentials. Username: Installer — Password: your charger's serial number (found on the charger unit label or page 3 of your installation manual). Each charge point has a unique password.
Change your password.
Navigate to User Settings and change the password to a memorable, secure password. Store it in a safe location.
Navigate to the CSMS section.
In the portal menu, navigate to the CSMS (Central System Management) section.
Set authorisation to use the CSMS server.
Find the authorisation toggle and ensure it is set to "Authorisation via CSMS Server". This allows Splash to authorise charging sessions remotely.
Copy the Splash URL below.
wss://cpms.splashrenewable.co.uk/
Paste the URL in CSMS Server Address.
In the "CSMS Server Address" field, paste the Splash URL you copied. Click Save.
Open Splash Share.
Go to My chargers → Tap "Add new charger"
Enter your charger ID.
Please don't use the QR scanner — manually enter your Ratio io7 charger's serial number to proceed.
Set up your charger.
Follow the instructions to finish setting up your charger. After a minute, it should appear on the map. Until your Splash QR sticker is on the charger, guests can't actually use it — that's how they start a session. Send us a screenshot of your charger on the map via the "Need help?" link below, and we'll get a sticker in the post to you.