Zeeda
May 6, 2026
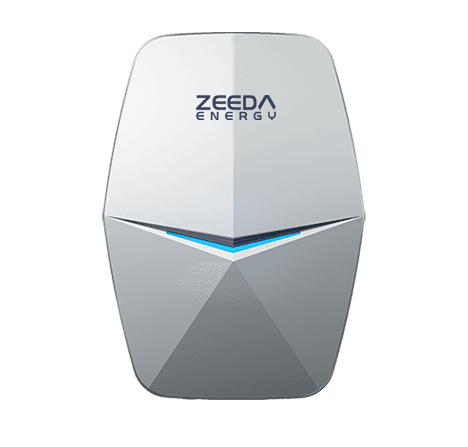
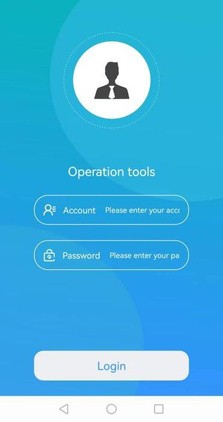
Download and log in to the Zhida operation tool.
On an Android phone or tablet, go to https://www.pgyer.com/XsXsff to download the Zhida operation tool (Android-only, no iOS version). Open it and log in with Account: SRT and Password: [email protected]
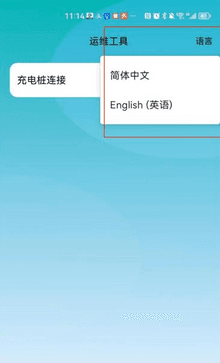
Switch the language to English.
If the operation tool is displayed in Chinese, click the small text "语言" (Language) to switch to English.
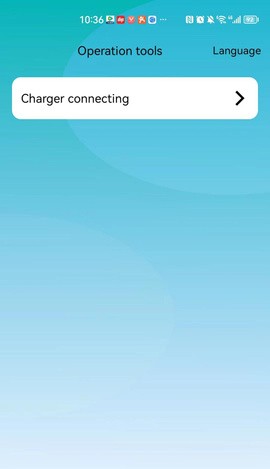
Click "Charger connecting" to proceed.
On the main screen, tap "Charger connecting" to begin the charger setup process.
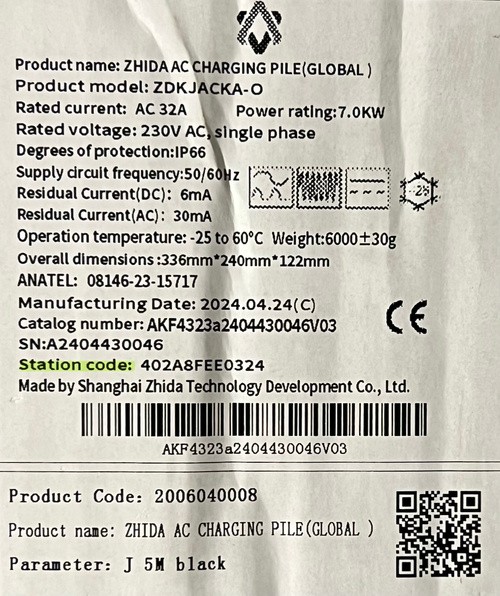
Find your Station code and select it.
Find the Station code on the paper label outside your Zhida EV charger box. In the operation tool, you should see the same code under "Available equipment", tap it to proceed.
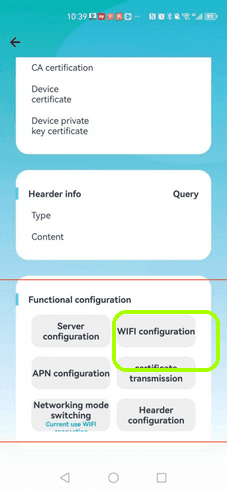
Open WIFI configuration.
Scroll down to the bottom of the charger settings and click "WIFI configuration".
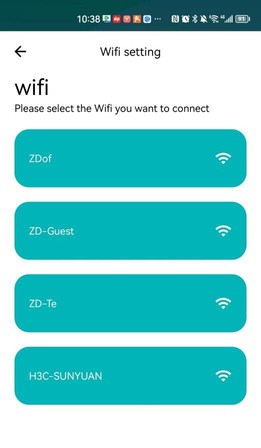
Connect the charger to your Wi-Fi.
Select your home Wi-Fi network and enter the password to connect the charger to your Wi-Fi.
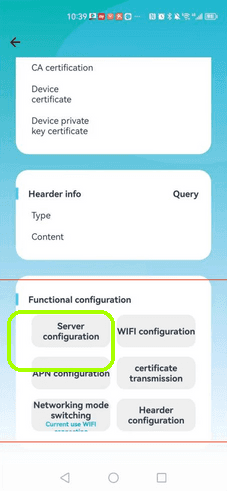
Go to Server configuration.
Go back to the previous screen and click "Server configuration".
Enter the Splash OCPP URL.
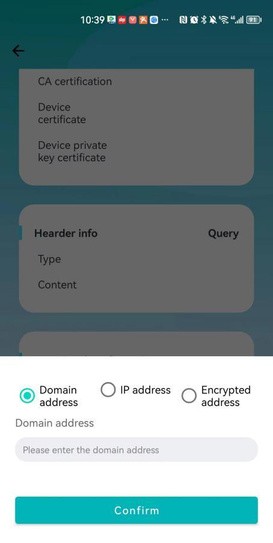
Make sure to select "Encrypted address" (not Domain address or IP address). Enter the following URL and click "Confirm": wss://cpms.splashrenewable.co.uk/
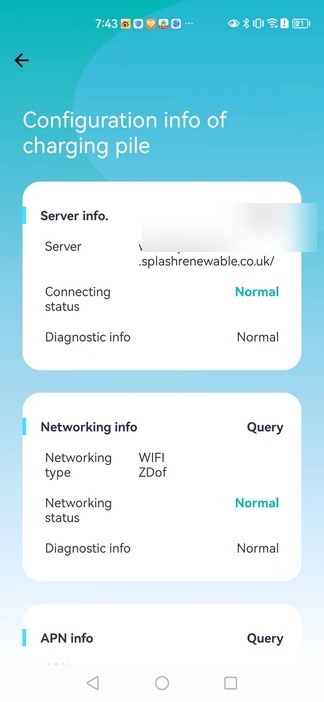
Verify the connection is successful.
If the connection is successful, the same URL from the previous step will show next to "Server", and the status will be "Normal". If the status hasn't switched after a minute or two, double-check you selected the encrypted address option and re-entered the URL exactly, then message us and we'll sort it.
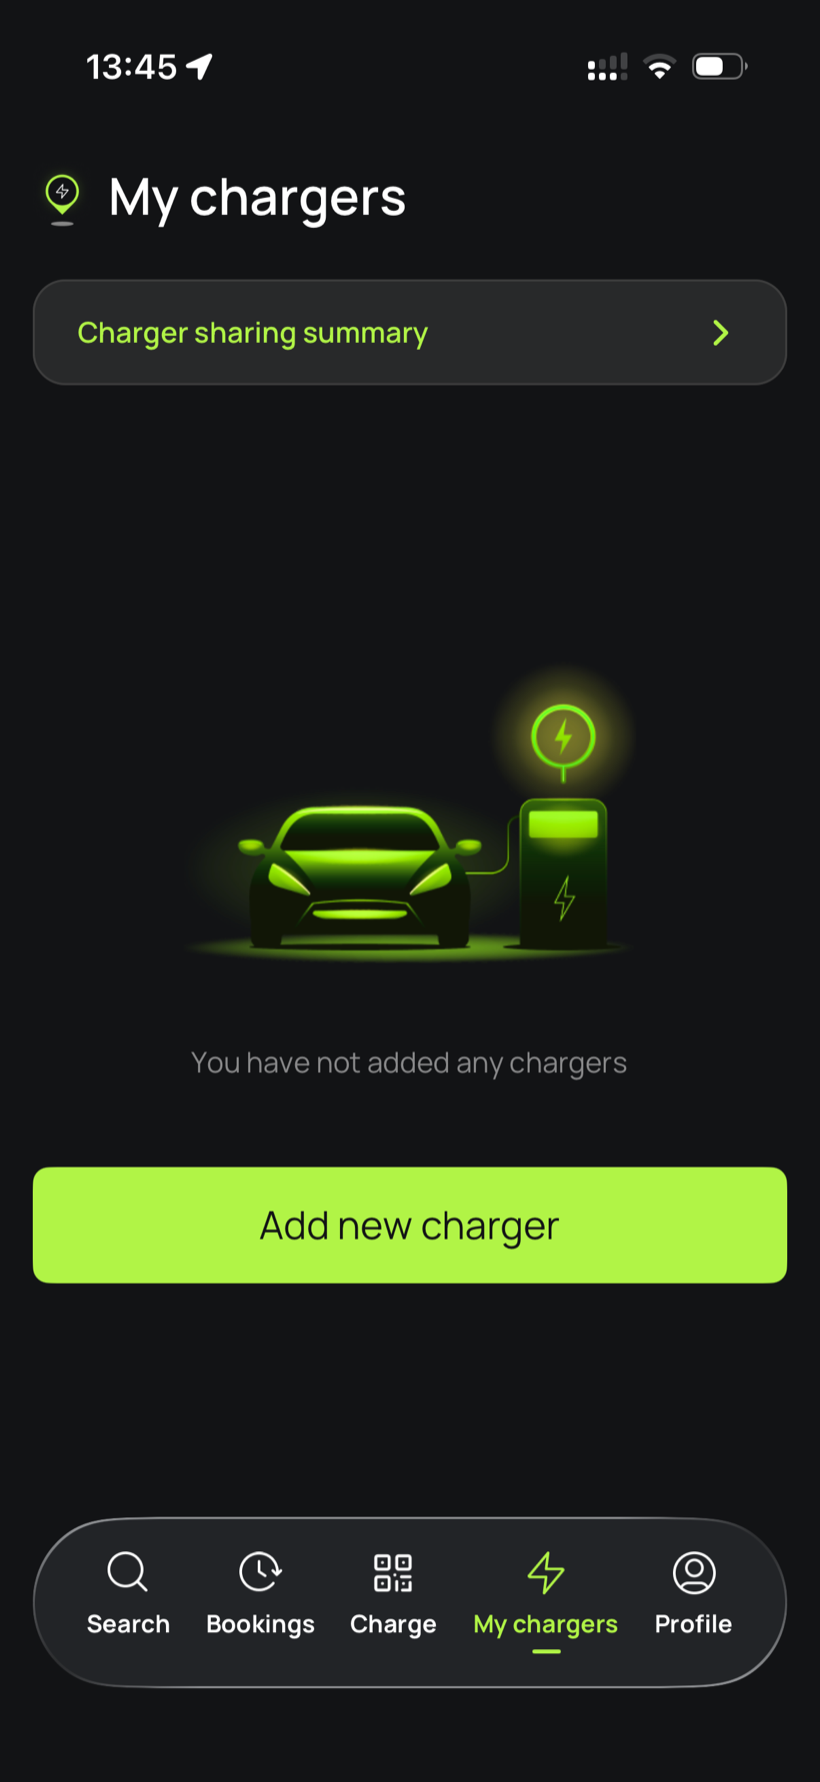
Open Splash Share.
Go to My chargers, then tap Add new charger.
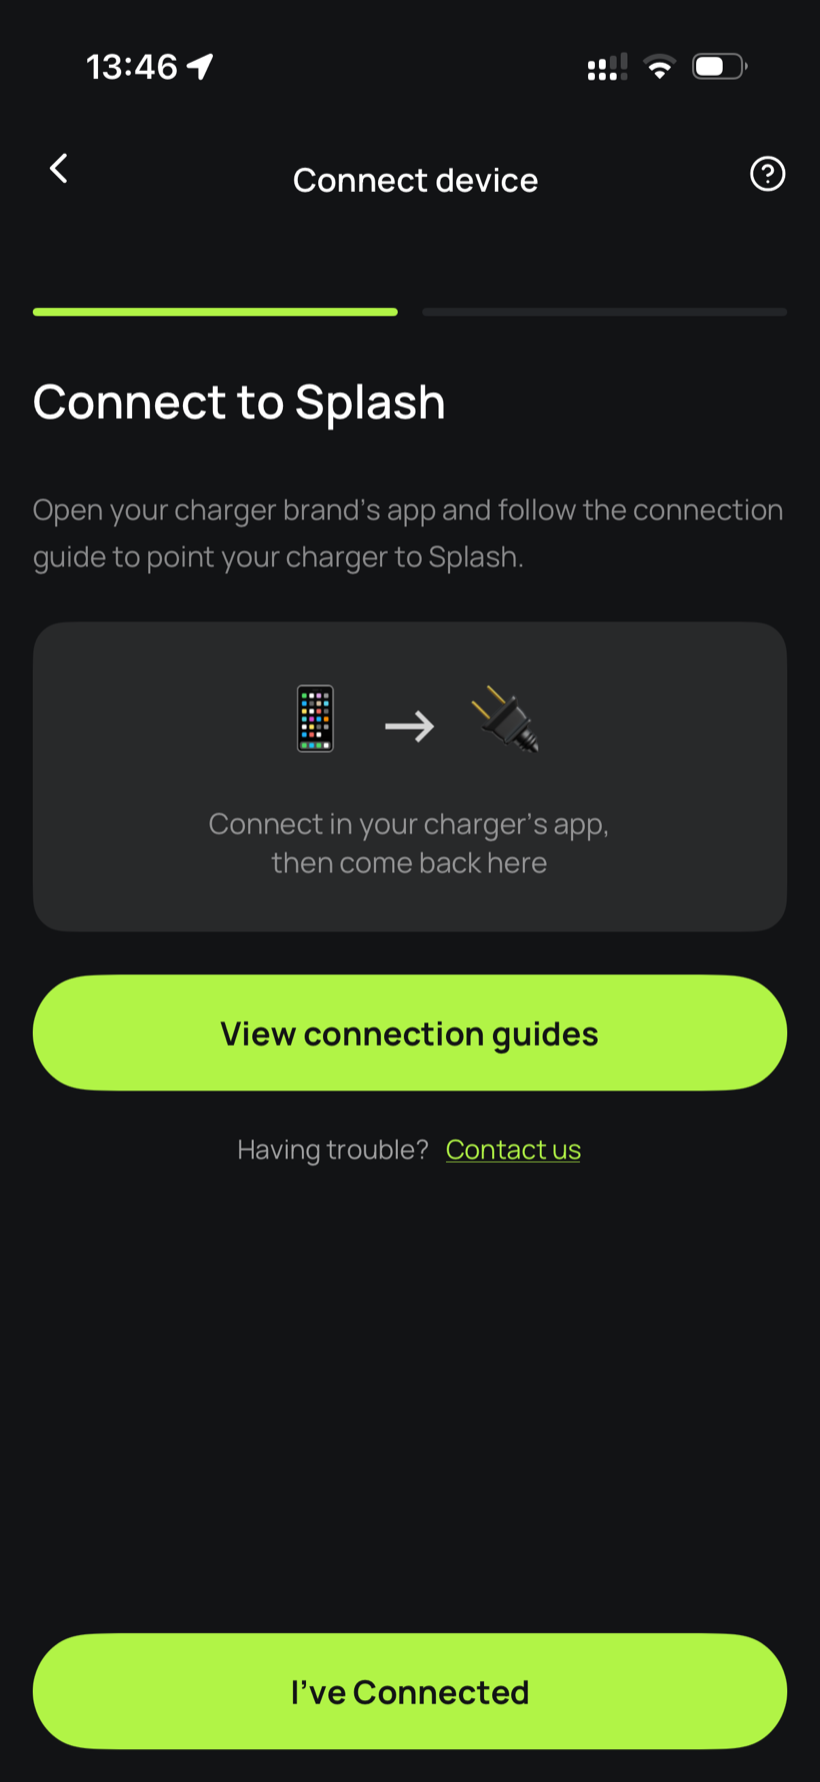
Tell Splash you're connected.
The app first asks you to connect through your charger brand's app. That's what you've just done in the steps above, so tap I've Connected.
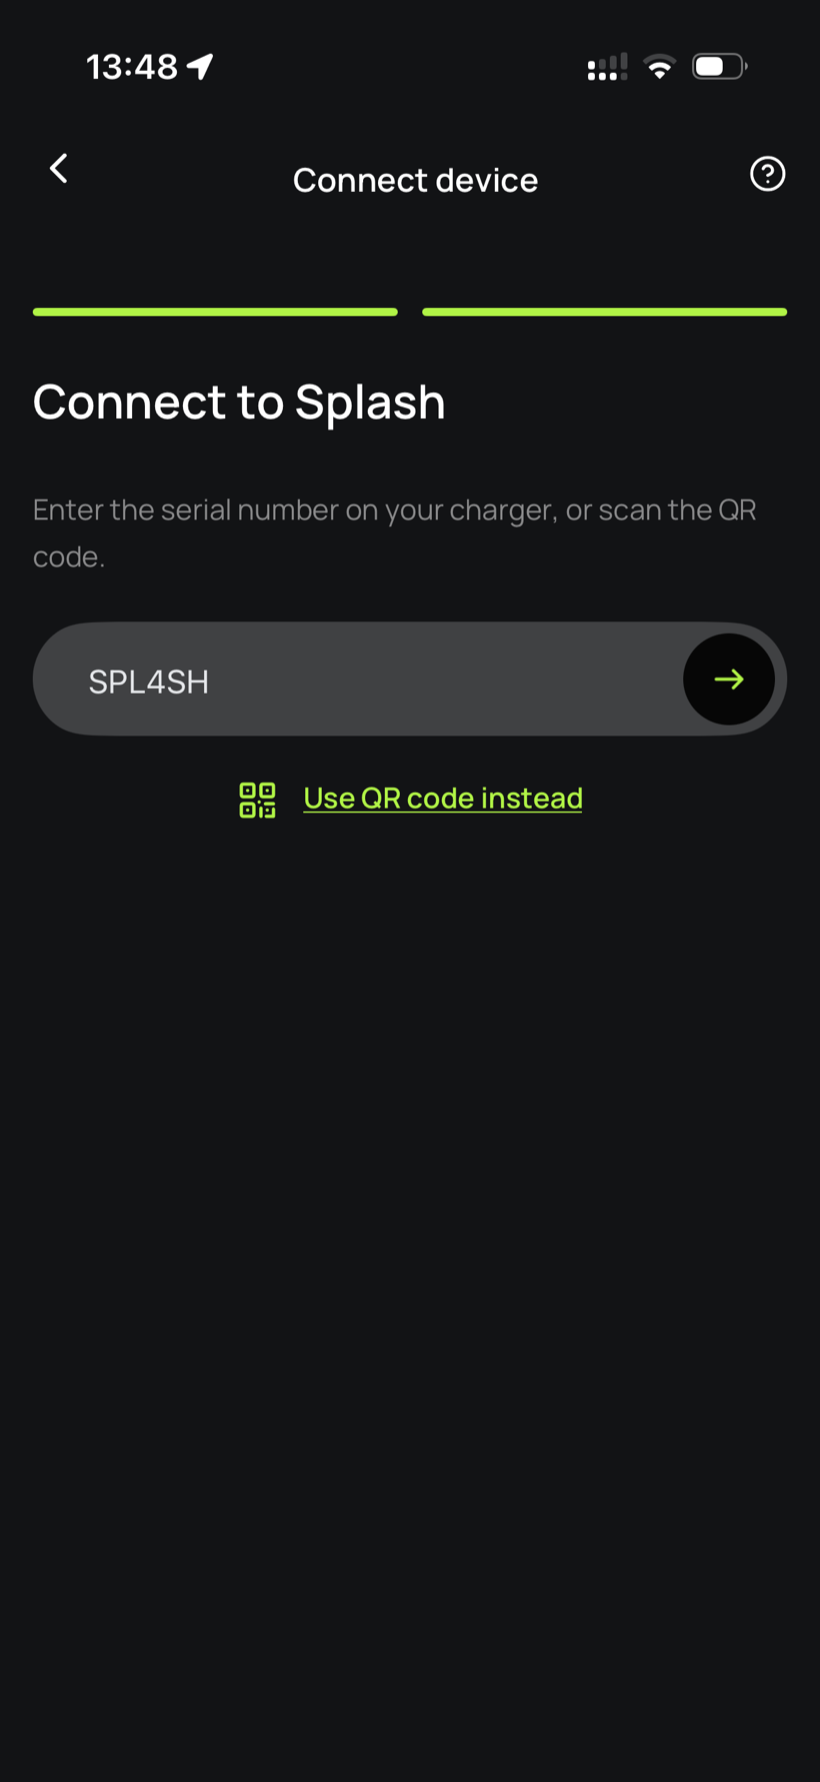
Enter your serial number.
Enter the serial number in the field.
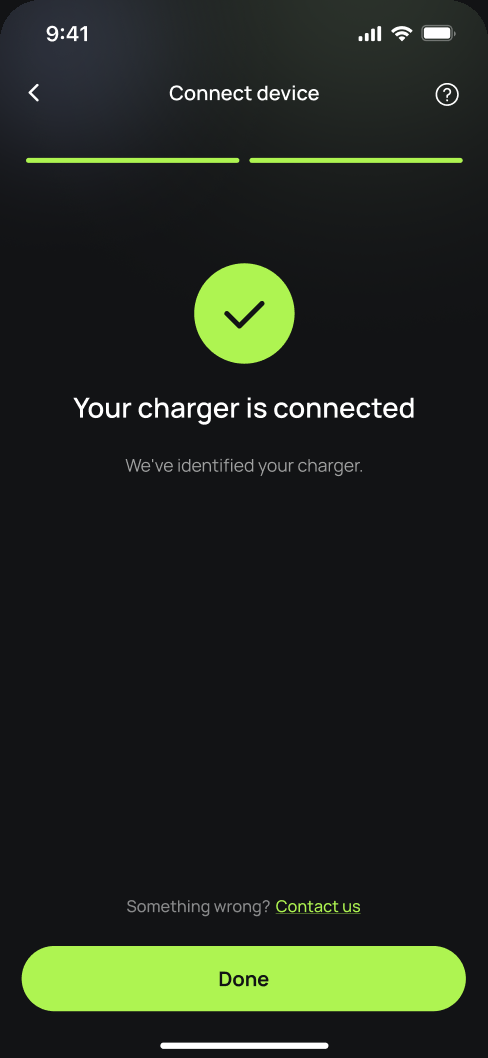
You're connected.
Splash finds your charger and confirms the connection. Tap Done.
Finish setting up in the app.
Your charger isn't live yet. Follow the instructions in the app to add your charger's details and finish the setup. Once you're done we'll know, and we'll post your Splash QR sticker out to you so guests can scan it to start a session.