Fox ESS
May 6, 2026
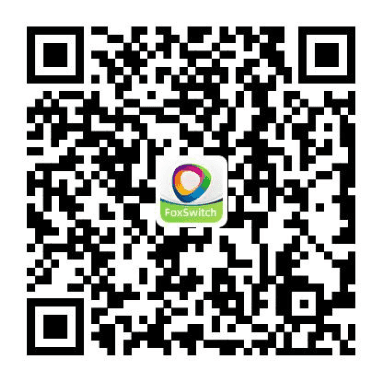
Open the Fox Switch app.
Open the Fox Switch app and find your charger. If you haven't installed Fox Switch, download it from the App Store or Google Play.
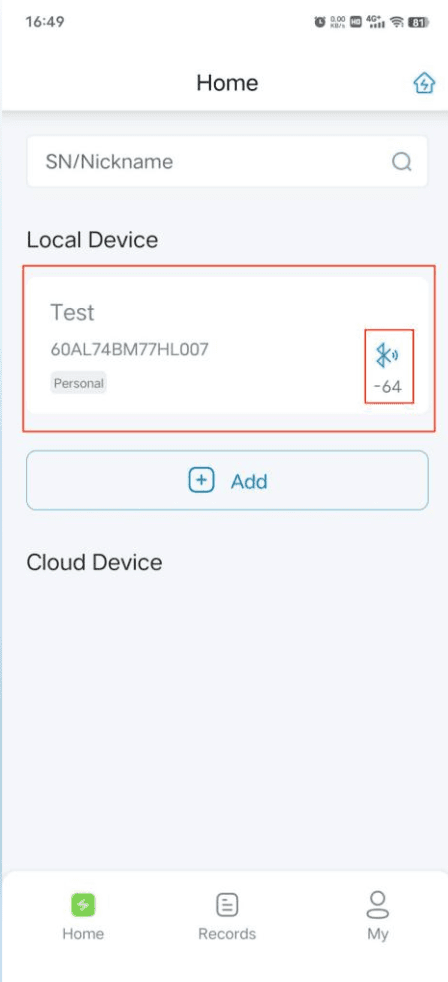
Enter the Charger Control Interface.
After you have set up the charger in FoxSwitch, click the Bluetooth icon of the EV Charger to connect via Bluetooth and enter the EV Charger Control Interface.
Set up WiFi or 4G network.
Click the button on the top-right of the Charger Control Interface and connect to WiFi (recommended) or 4G. If successful, your Fox charger will be displayed in the Cloud Device List. Note: It's recommended to restart the EV charger after network configuration for stability. You can reconnect 3 minutes after restarting.
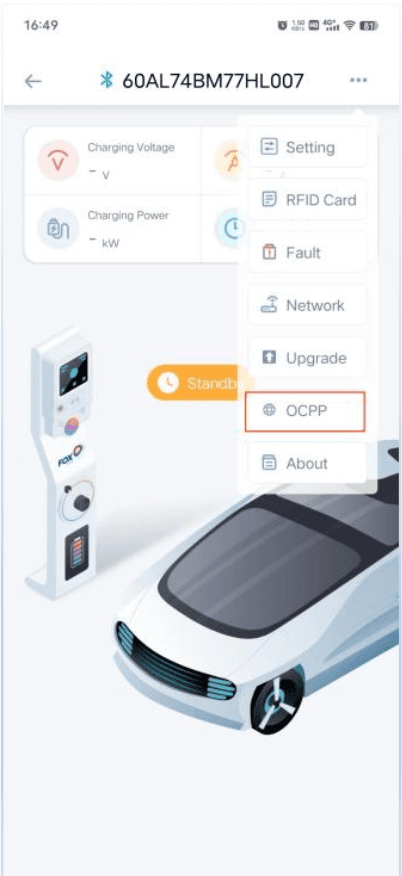
Open OCPP settings.
You'll need firmware V1.15 or newer, and your charger must have the OCPP hardware option fitted, for this menu to appear. If you can't see it, message us and we'll check your unit. Press the three dots in the top right corner of the EV charger control interface, then select "OCPP" to enter the OCPP settings.
Copy the Splash URL below.
wss://cpms.splashrenewable.co.uk/
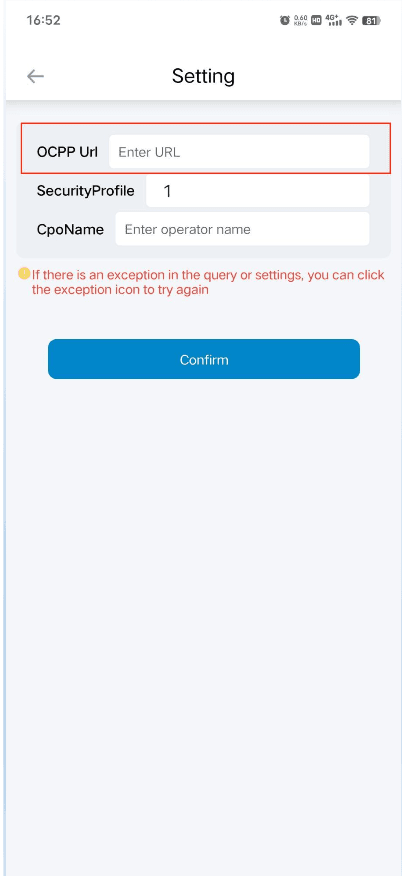
Paste the URL and set Security profile.
Paste the URL you copied into the "OCPP URL" field. Then set the "Security profile" field to 0, this is required for the backend connection to work. Click "complete" to save.
Open Splash Share.
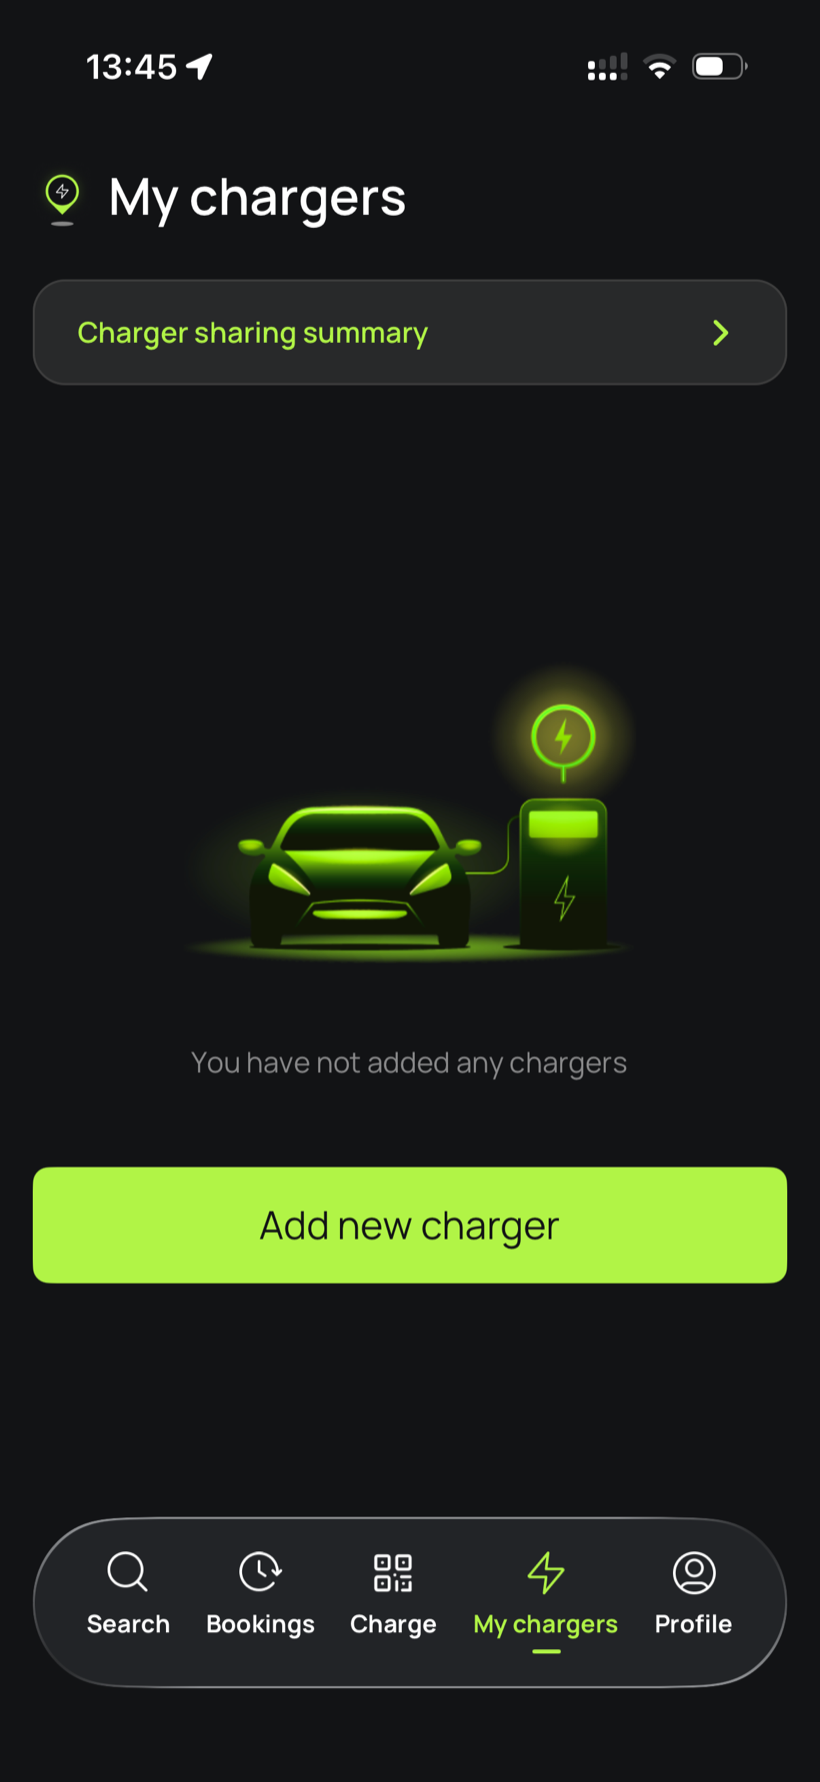
Go to My chargers, then tap Add new charger.
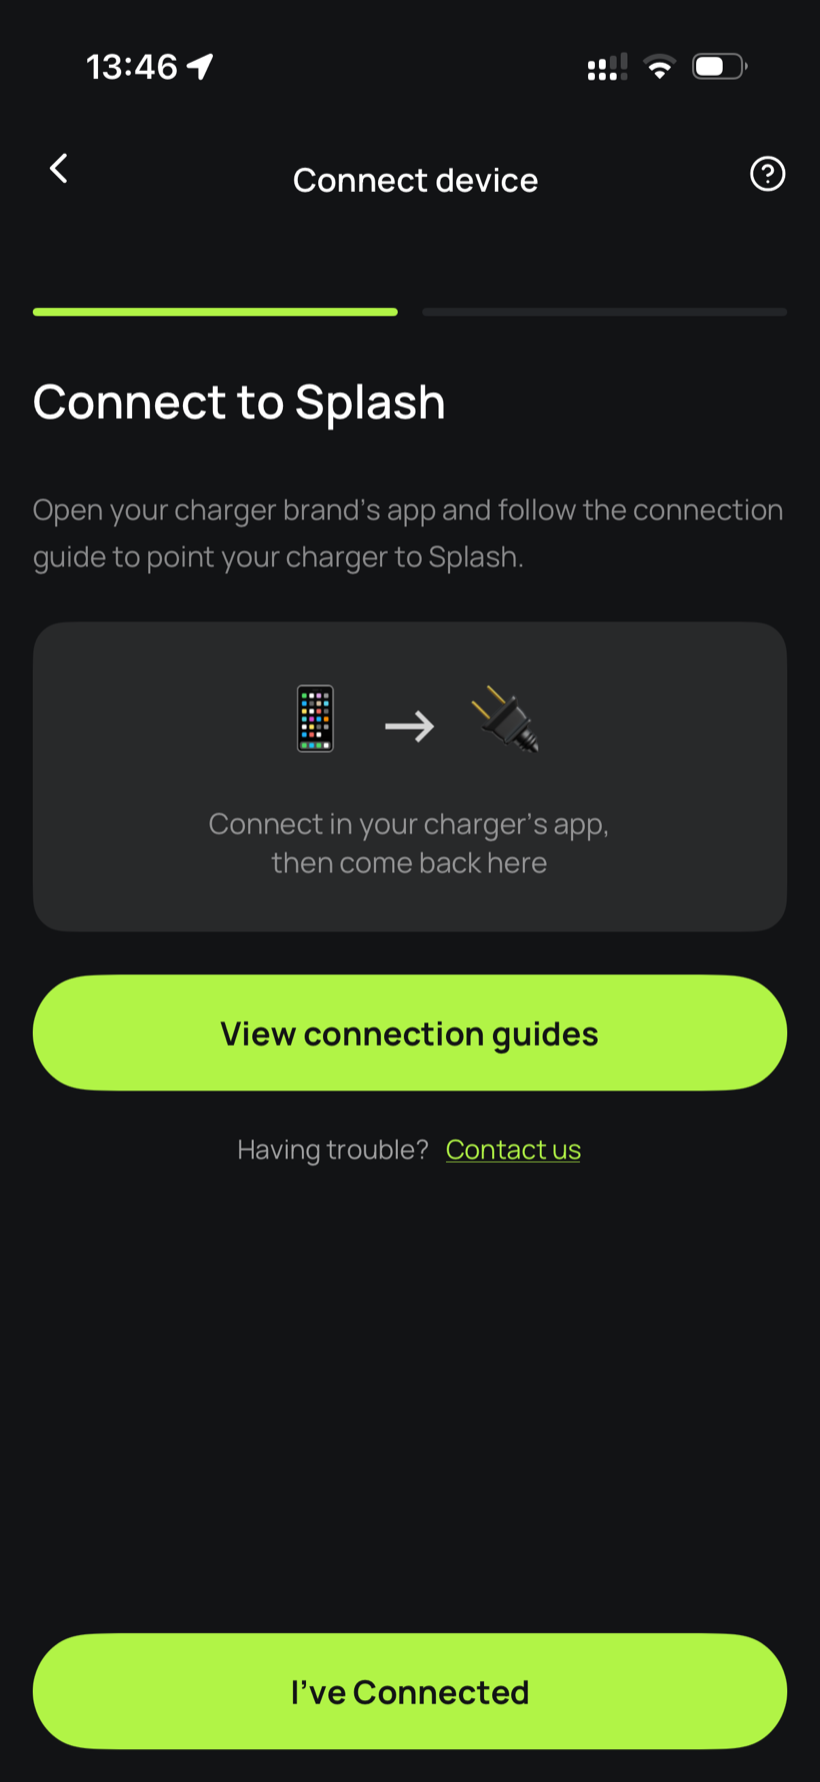
Tell Splash you're connected.
The app first asks you to connect through your charger brand's app. That's what you've just done in the steps above, so tap I've Connected.
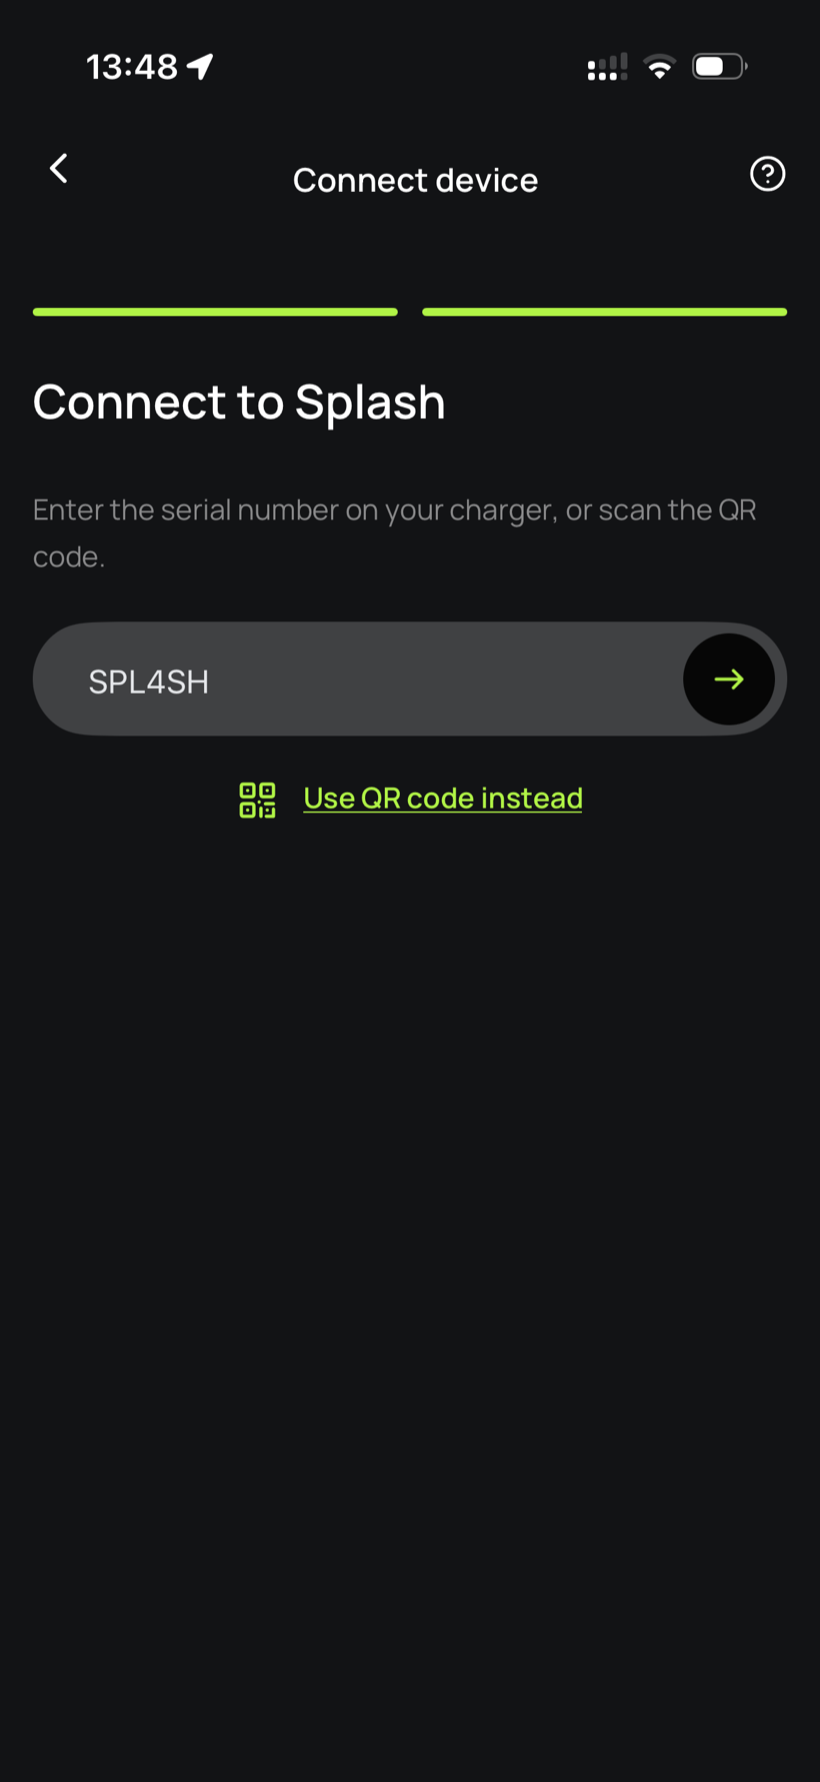
Enter your serial number.
Enter the serial number in the field.
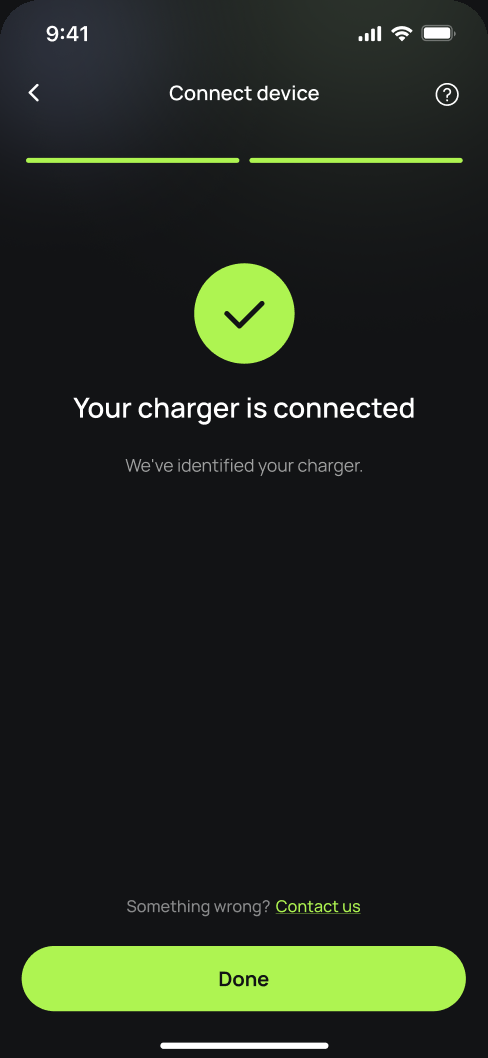
You're connected.
Splash finds your charger and confirms the connection. Tap Done.
Finish setting up in the app.
Your charger isn't live yet. Follow the instructions in the app to add your charger's details and finish the setup. Once you're done we'll know, and we'll post your Splash QR sticker out to you so guests can scan it to start a session.