Rolec EV
May 6, 2026
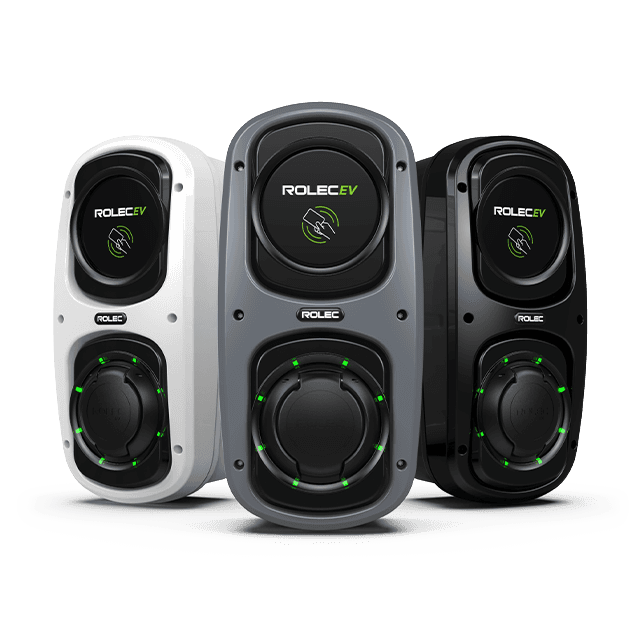
Go to the Rolec EV Connect app.
Open the Rolec EV Connect app. If it's your first time using the app, it will ask you to scan the charger QR code located in the back of the Rolec setup guide or inside the charger.
Navigate to: Configure your chargepoint > Back Office
In the app menu, navigate to Configure your chargepoint, then select Back Office.
Select your back office: choose "Custom"
From the back office options, select "Custom" to enter a manual OCPP backend URL.
Copy the Splash URL below.
wss://cpms.splashrenewable.co.uk/
Enter the URL copied from Splash.
Paste the Splash URL into the custom back office URL field.
Click "Set".
Tap the Set button to save the OCPP backend configuration.
Open Splash Share.
Go to My chargers, then tap Add new charger.
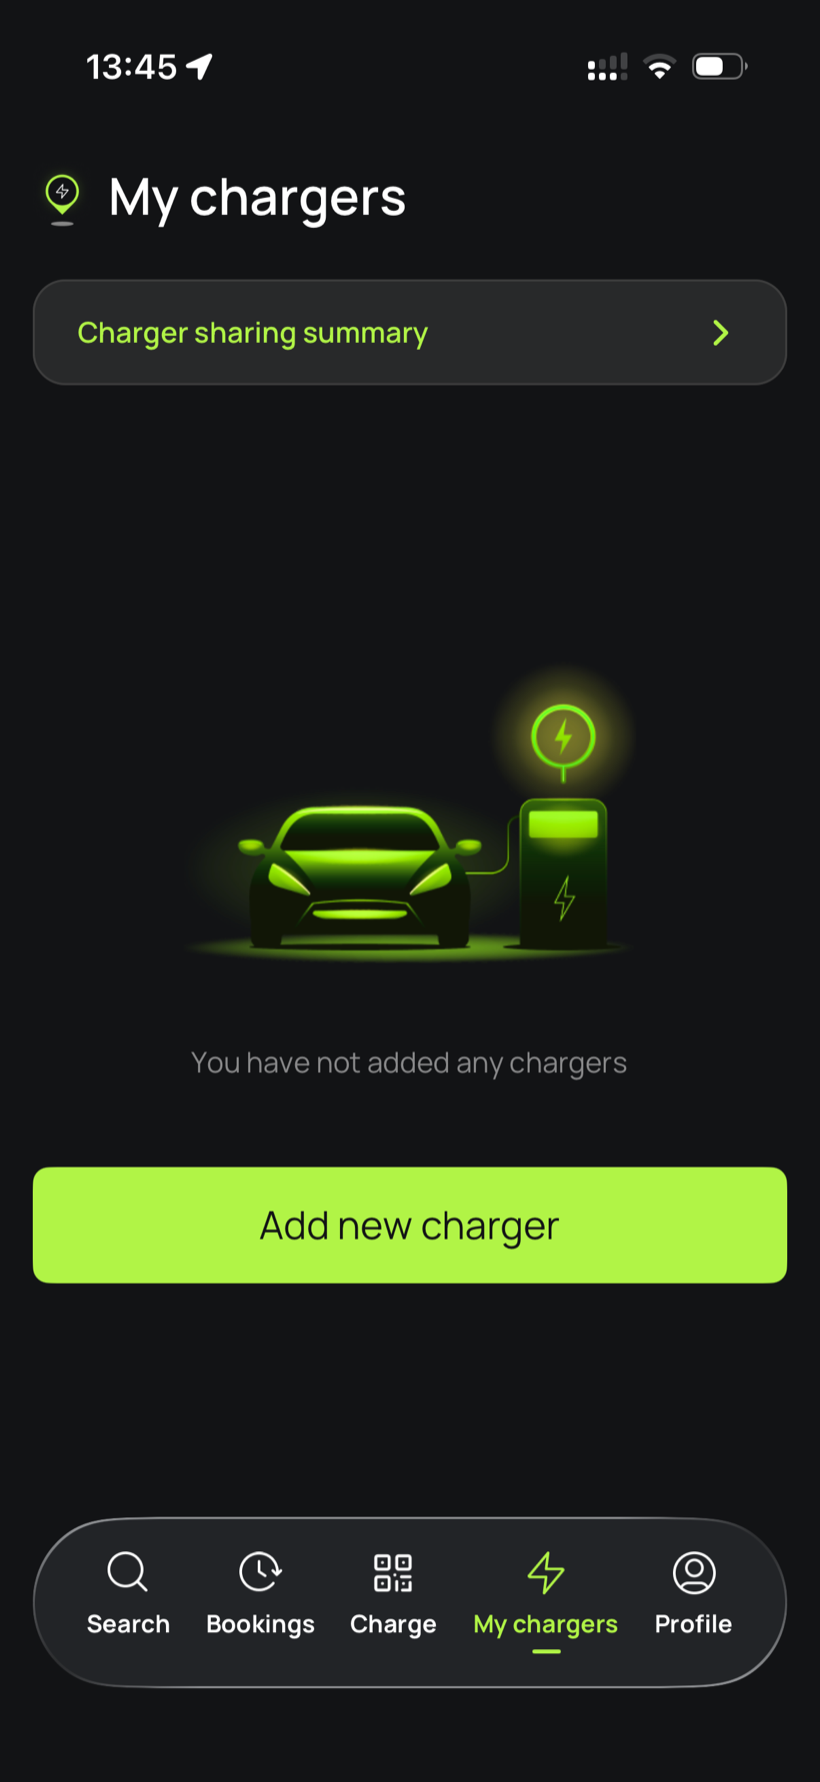
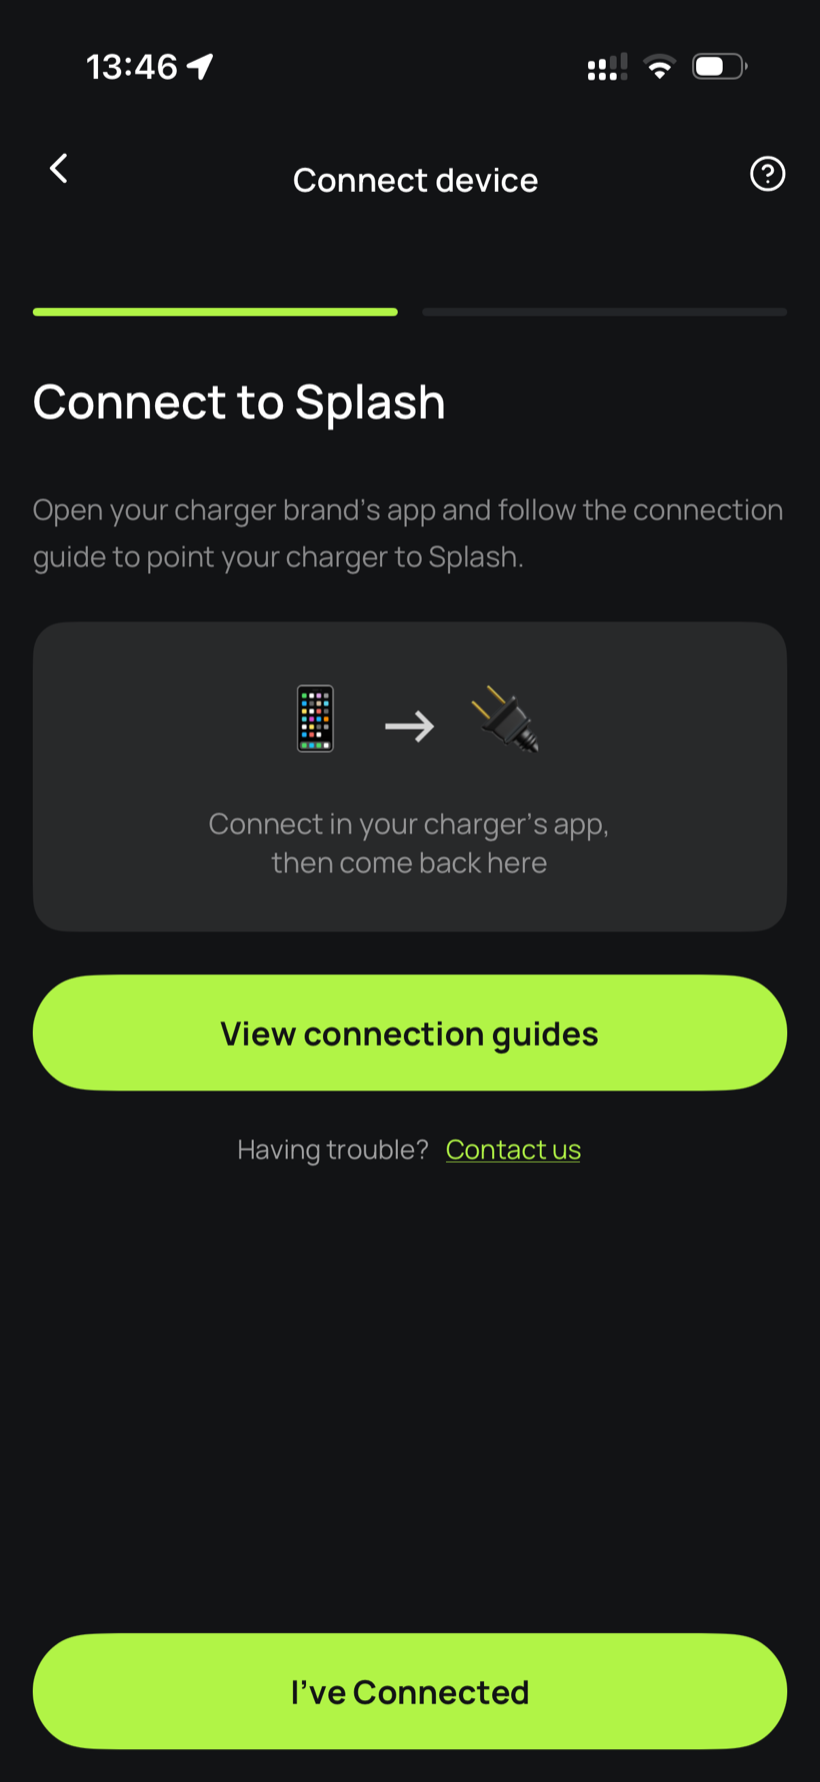
Tell Splash you're connected.
The app first asks you to connect through your charger brand's app. That's what you've just done in the steps above, so tap I've Connected.
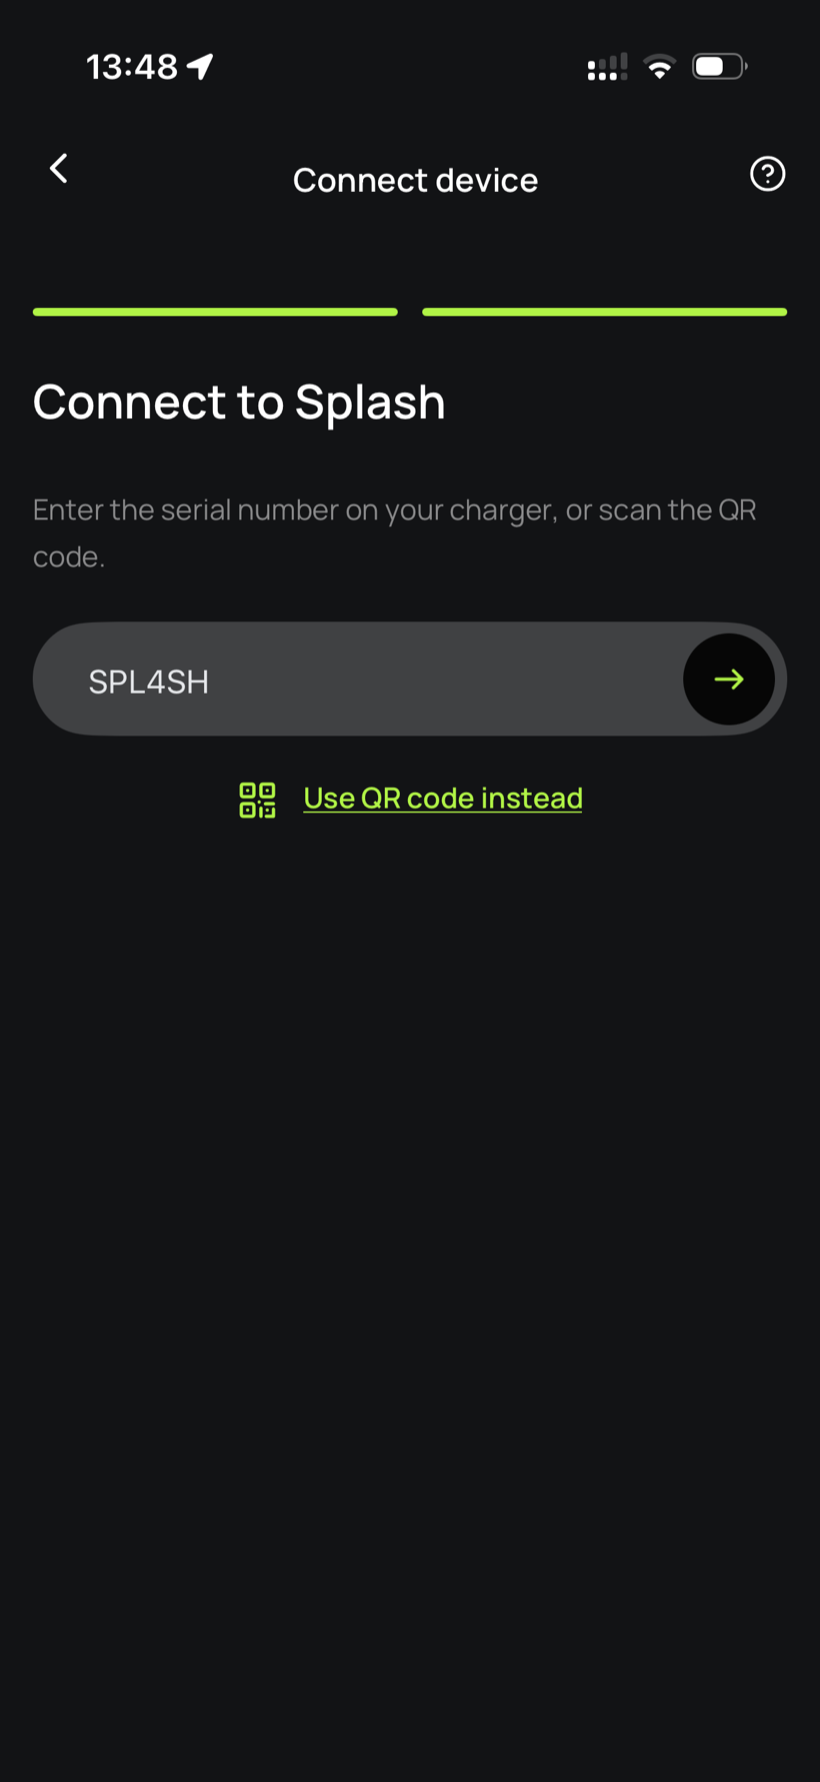
Enter your serial number.
Enter the serial number in the field.
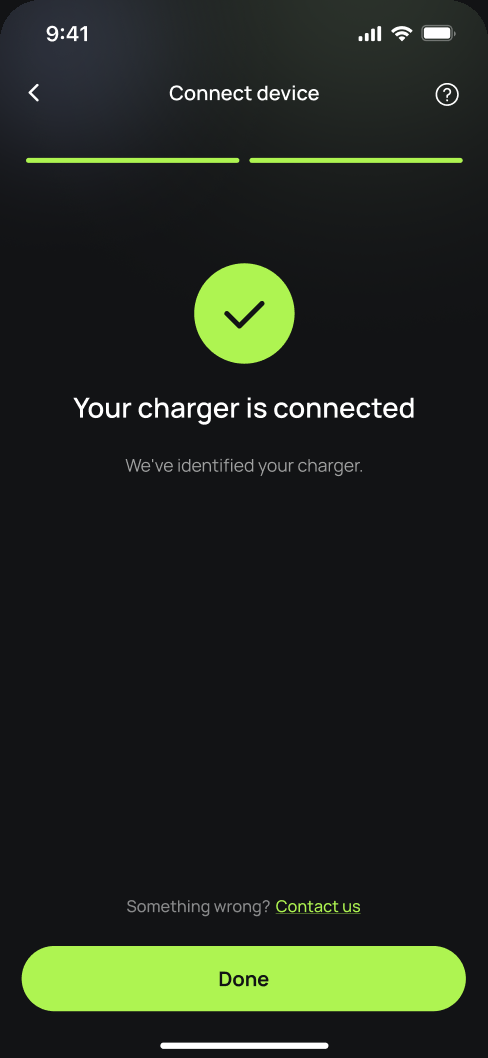
You're connected.
Splash finds your charger and confirms the connection. Tap Done.
Finish setting up in the app.
Your charger isn't live yet. Follow the instructions in the app to add your charger's details and finish the setup. Once you're done we'll know, and we'll post your Splash QR sticker out to you so guests can scan it to start a session.