Vestel
Jun 15, 2026
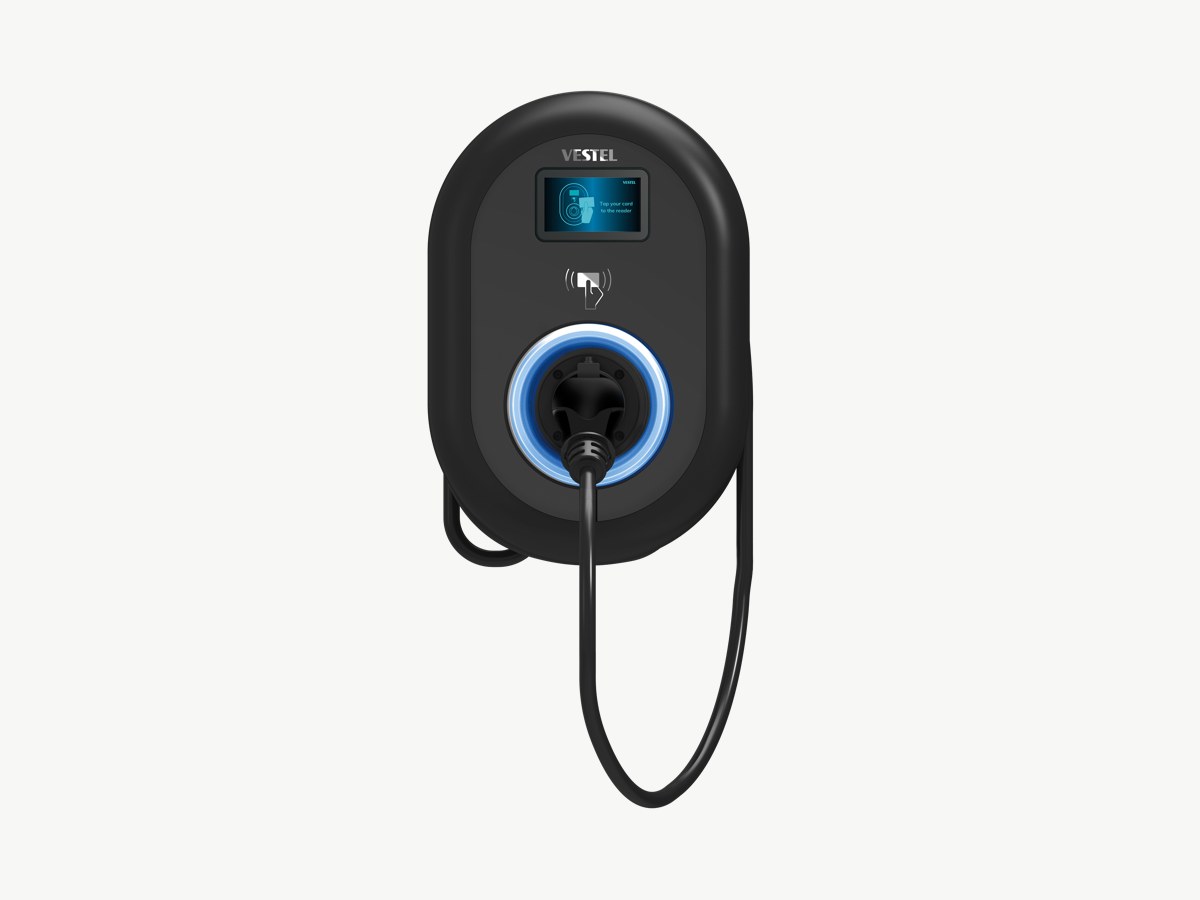
Connect to the Vestel charger's WiFi.
On your phone or laptop, open WiFi settings and find the hotspot named after your charger's serial number. The password is the Chargebox-ID printed on the charger label.
Open the web interface and log in.
In a browser, go to http://192.168.1.1. Login with the default credentials (Username: admin, Password: admin).
Navigate to OCPP settings.
In the left-side menu, click 'OCPP settings'. If you don't see an OCPP settings option in your charger's menu, message us on WhatsApp via the "Need help?" link below with a photo of your menu, and we'll get you connected another way.
Enable the OCPP connection.
Toggle 'OCPP connection' to enabled.
Set Central system address.
In the 'Central system address' field, enter: wss://cpms.splashrenewable.co.uk/
Set Charge Point ID.
In the 'Charge Point ID' field, enter your charger's serial number (or another unique identifier). This field is mandatory; the page won't save without it.
Set FreeModeRFID.
Find the 'FreeModeRFID' field (some newer firmware labels it 'AuthorizationKey') and set it to FFFFFFFF (eight F's). This allows Splash to start charging remotely without an RFID card.
Save and restart.
Click Save. The charger may restart to apply the new settings.
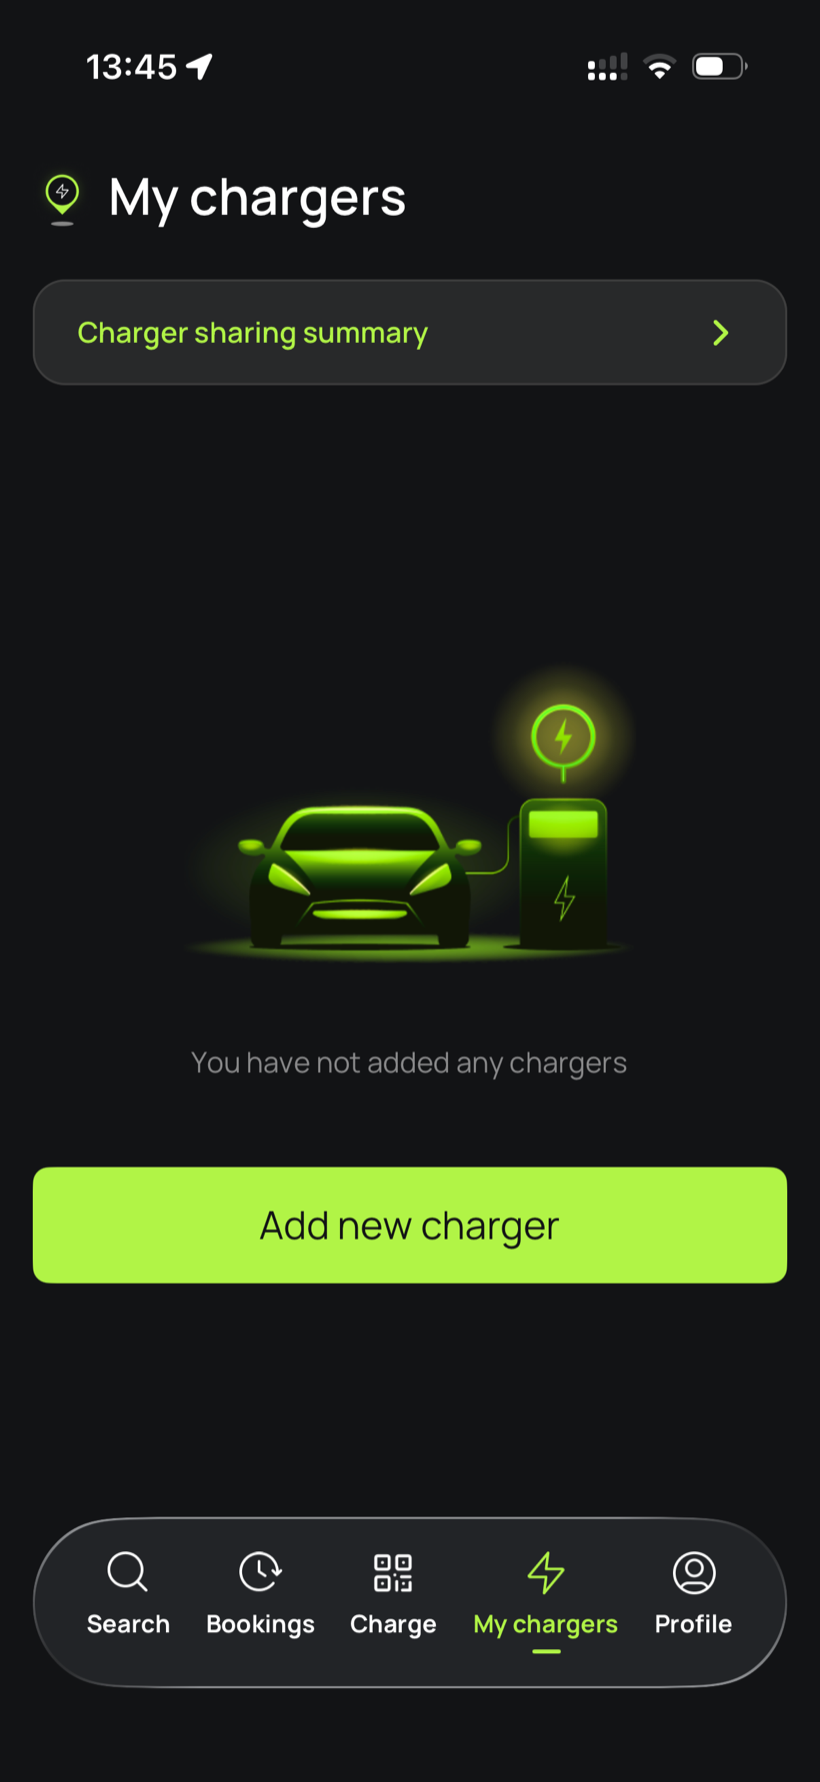
Open Splash Share.
Go to My chargers, then tap Add new charger.
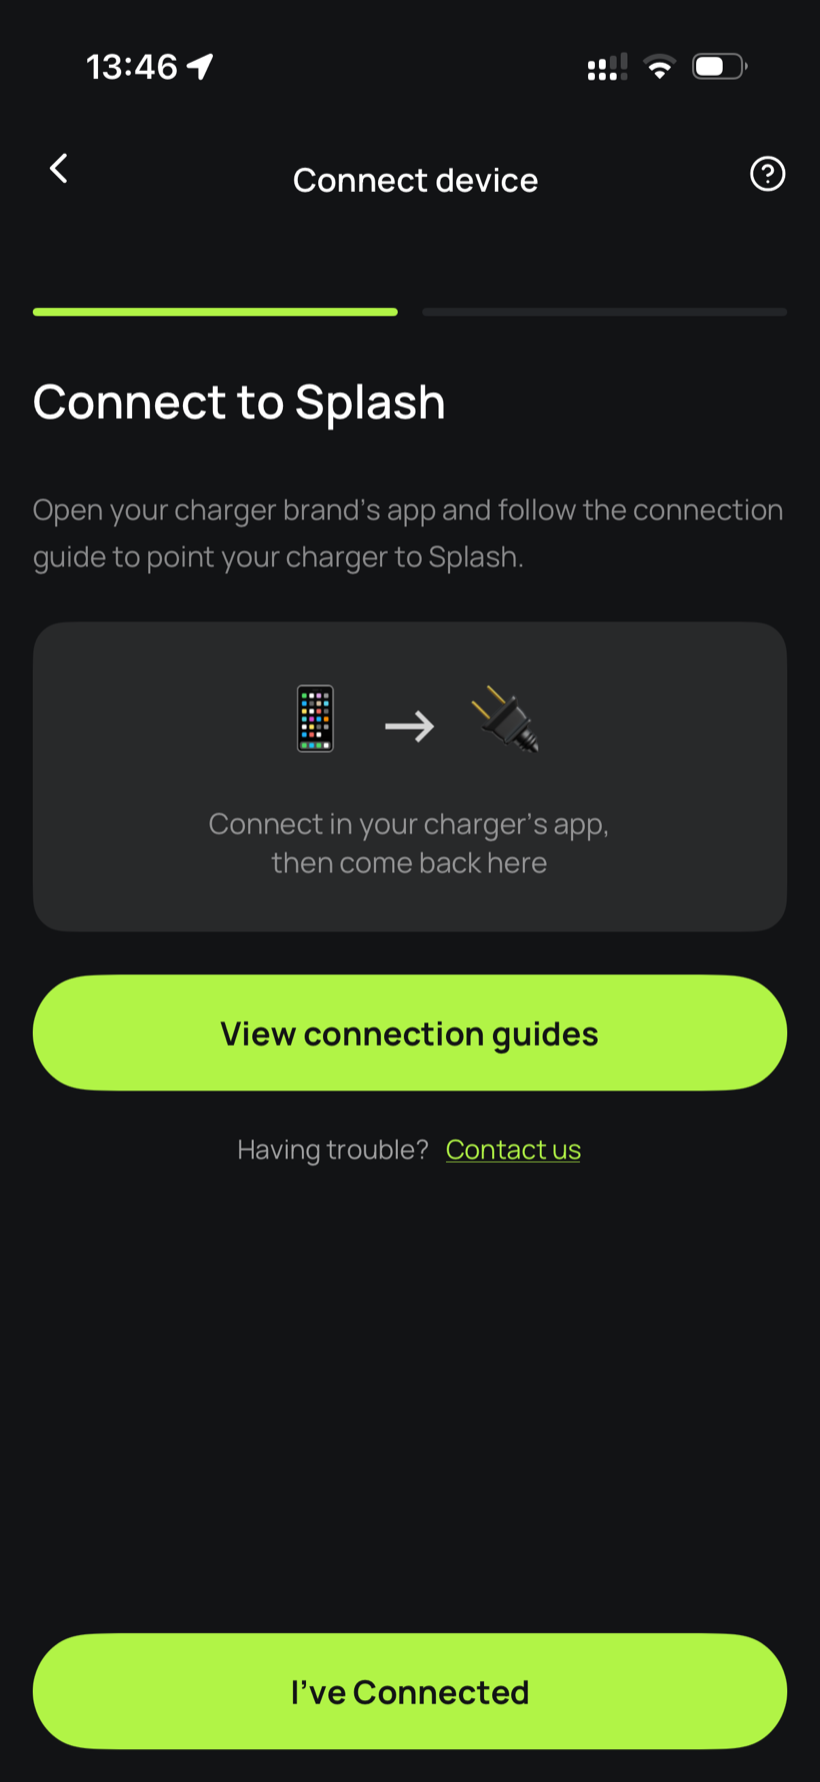
Tell Splash you're connected.
The app first asks you to connect through your charger brand's app. That's what you've just done in the steps above, so tap I've Connected.
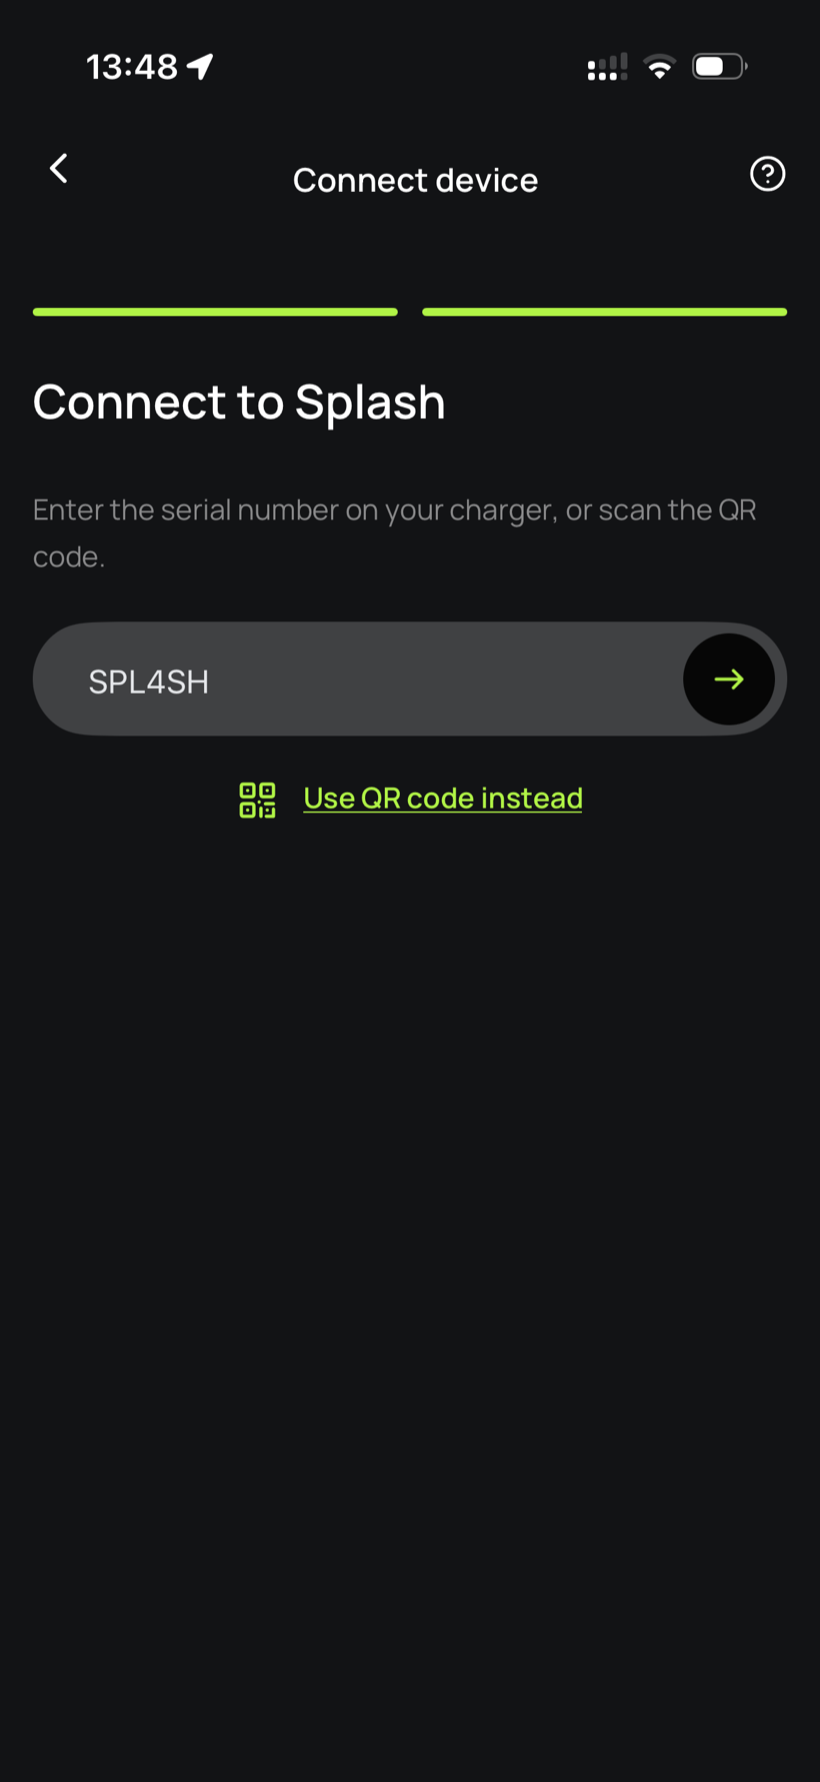
Enter your serial number.
Enter the serial number in the field.
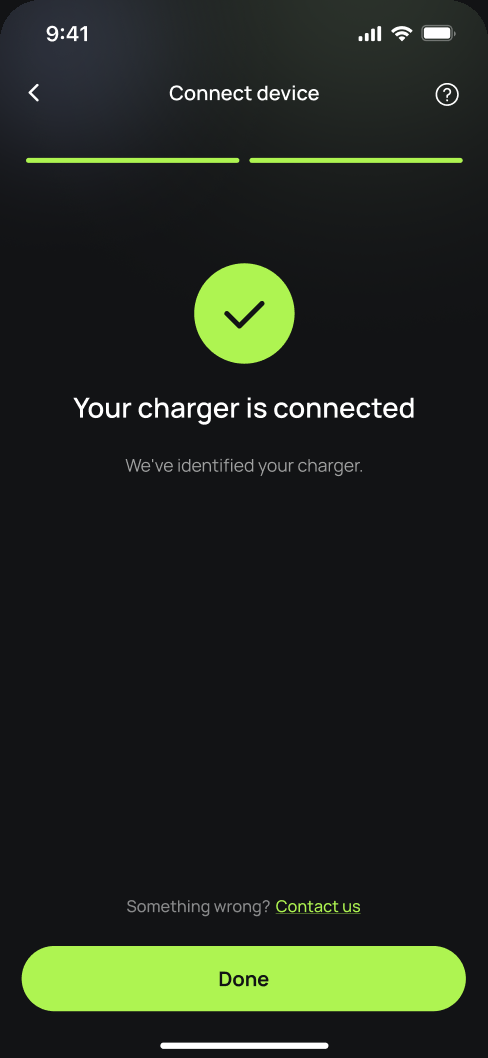
You're connected.
Splash finds your charger and confirms the connection. Tap Done.
Finish setting up in the app.
Your charger isn't live yet. Follow the instructions in the app to add your charger's details and finish the setup. Once you're done we'll know, and we'll post your Splash QR sticker out to you so guests can scan it to start a session.